Since many laser engravers have issues to get the rotary to work normally, below are some tips for your reference including driver settings, software settings, operating advices etc.
Wisely Laser
1. SplitMark - Issue 1
After rotating marking, if you see several split lines which looks almost same, first try to adjust the Diameter. For example, if the diameter was 100mm, try to change it to 98mm, and then mark again and check.
2. SplitMark - Issue 2
After rotating marking, if you see some split lines and some other repeatedly marking, try to adjust split size first.
3. Split Size Setting
If the diameter is around 100mm, usually we set split size around 1-10, set 10 first and try. Such as marking tumblers.
4. Split Size
If the total marking length is 50mm, when you set the split size as 10, it means 50/10=5, it is splited to 5 parts, the rotary will rotate 5 times to finish the marking.
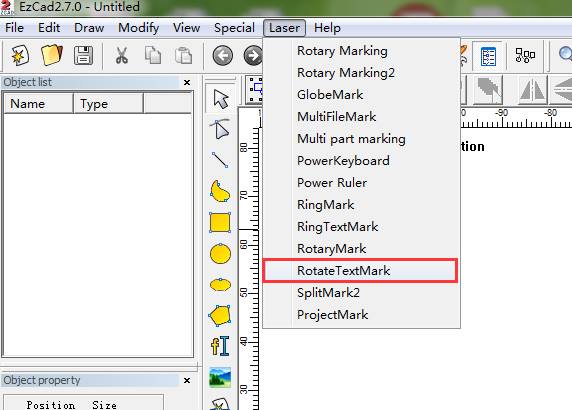
5. Text Marking
When use a rotary to mark Text or Numbers, it is better to use RotateTextMark which is better than SplitMark2.

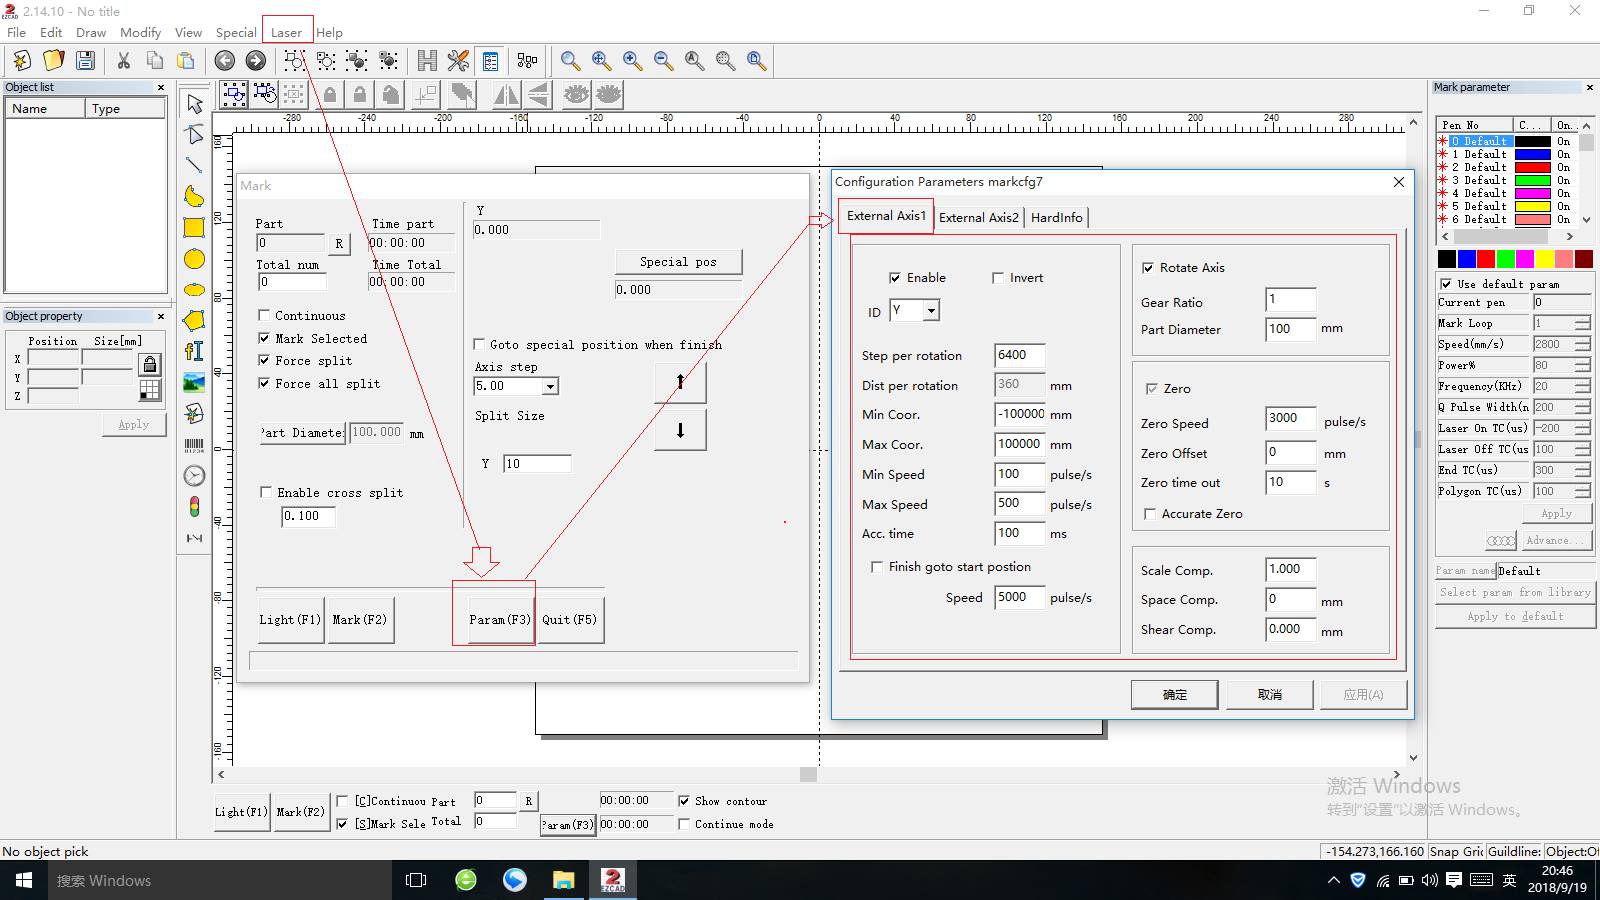
6. Step Per rotation
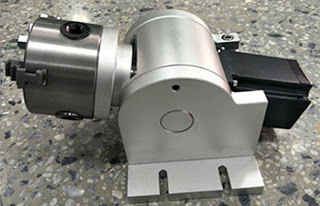
The nunber is related to the rotary driver settings, the rotary driver is installed inside the machine. Details, pls check tip 10.
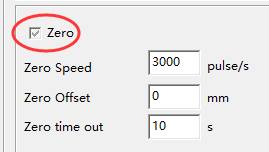
7. Zero
Make sure the selection is grey color. Or it will shows Go homing when press light or mark.
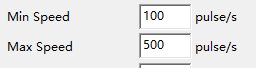
8. Shaking
If the rotary is a little shaking when rotates, lower the speed of Min Speed and Max Speed.
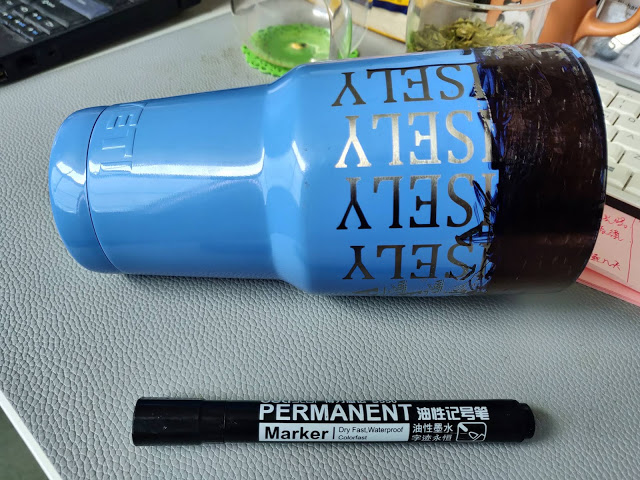
9. Testing Sample
In order not to waste new products, keep 1 product as testing sample. Test it, then use permanent to paint it, and then adjust the parameters if needed. After you are sure it is good to mark, then mark on the good products for customers. Always keep the testing sample and pen by hand, you can use them as many times as you want.
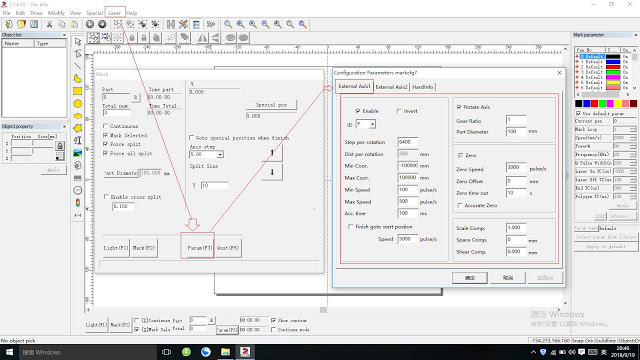
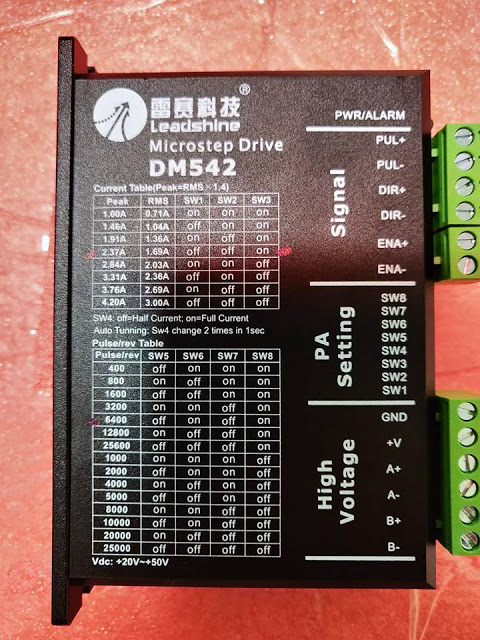
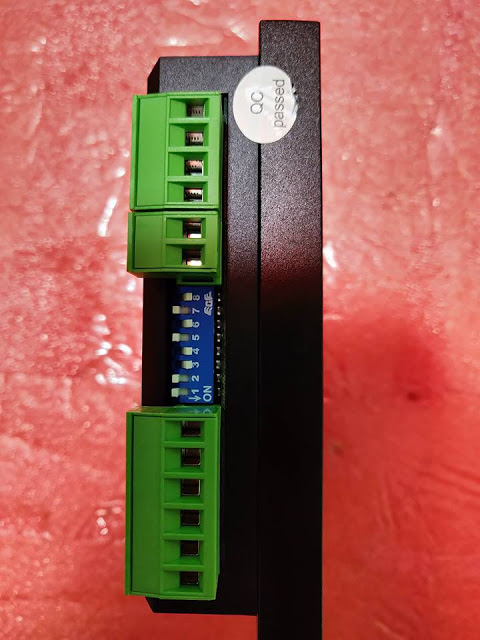
10. Driver Setting
VERY IMPORTANT!!! About rotary driver which is installed inside the machine: it is important to make sure the settings on the rotary driver are correct. For example, if you set the Step per rotation in software as 6400, then you must make sure that you also set same settings on rotary driver, so the rotary can work normally. Otherwise, it will have a lot of small issues which you do not know how to solve. Below are 3 photos helping to uderstand.
10.1 Step per rotation: 6400
10.2 Rotary driver setting 1. As you can see, when you choose 6400, it tells you how to set.
10.3 Rotary driver setting 2. Set as 1 shows.
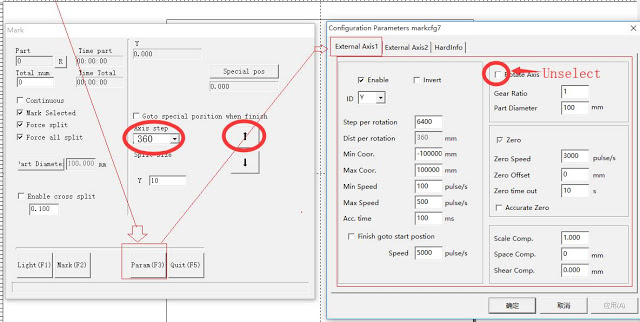
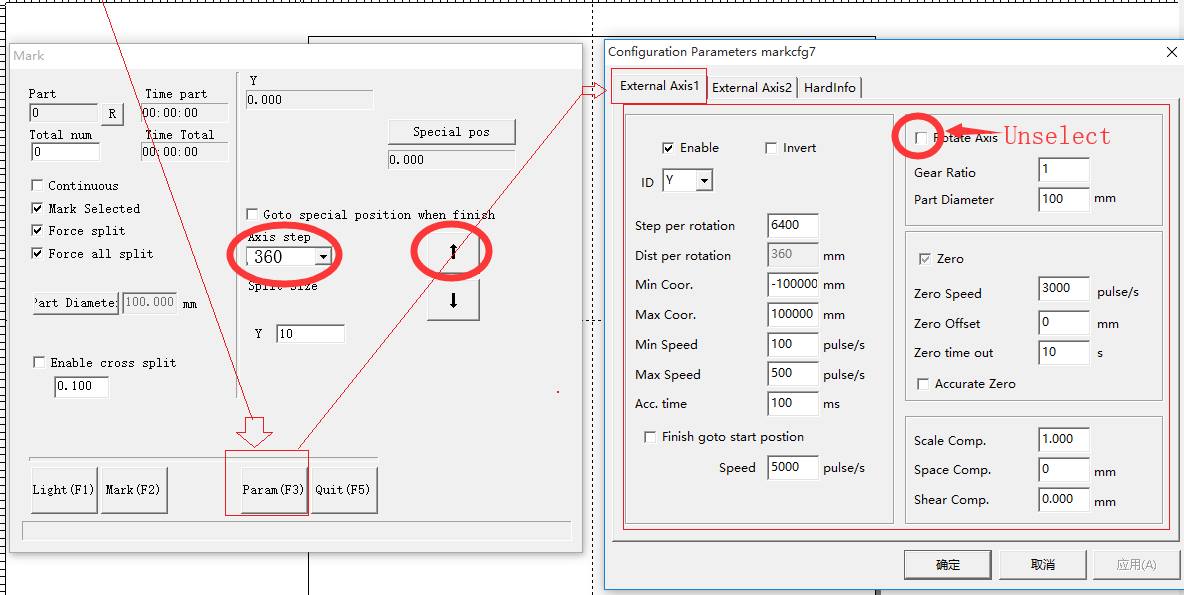
11. Test Settings
Test to see if your rotary settings are correct or not:
For splitmark2: How to Test? > unselect Rotate Axis > Set Axis step 360 > Click UP > Watch your rotary > To see if your rotary EXACTLY rotates 360 degree. If yes, then your settings should be correct. If not, your settings got problems.
Any questions or advices, feel free to let us know, we will try to figure out your questions, and thanks for your advices, which will do great help to all laser engraving machine owners.
This post was authored by Richard - Wisely Laser and great guys at wwlaser.com
Was this post helpful? Pls consider liking and sharing this post with others!
https://lasermarkingmachinemetal.blogspot.com/2018/09/how-to-get-rotary-to-work-settings-tips.html
https://www.youtube.com/watch?v=e6cCSa91p_U


 T: +86-150-13509330 |